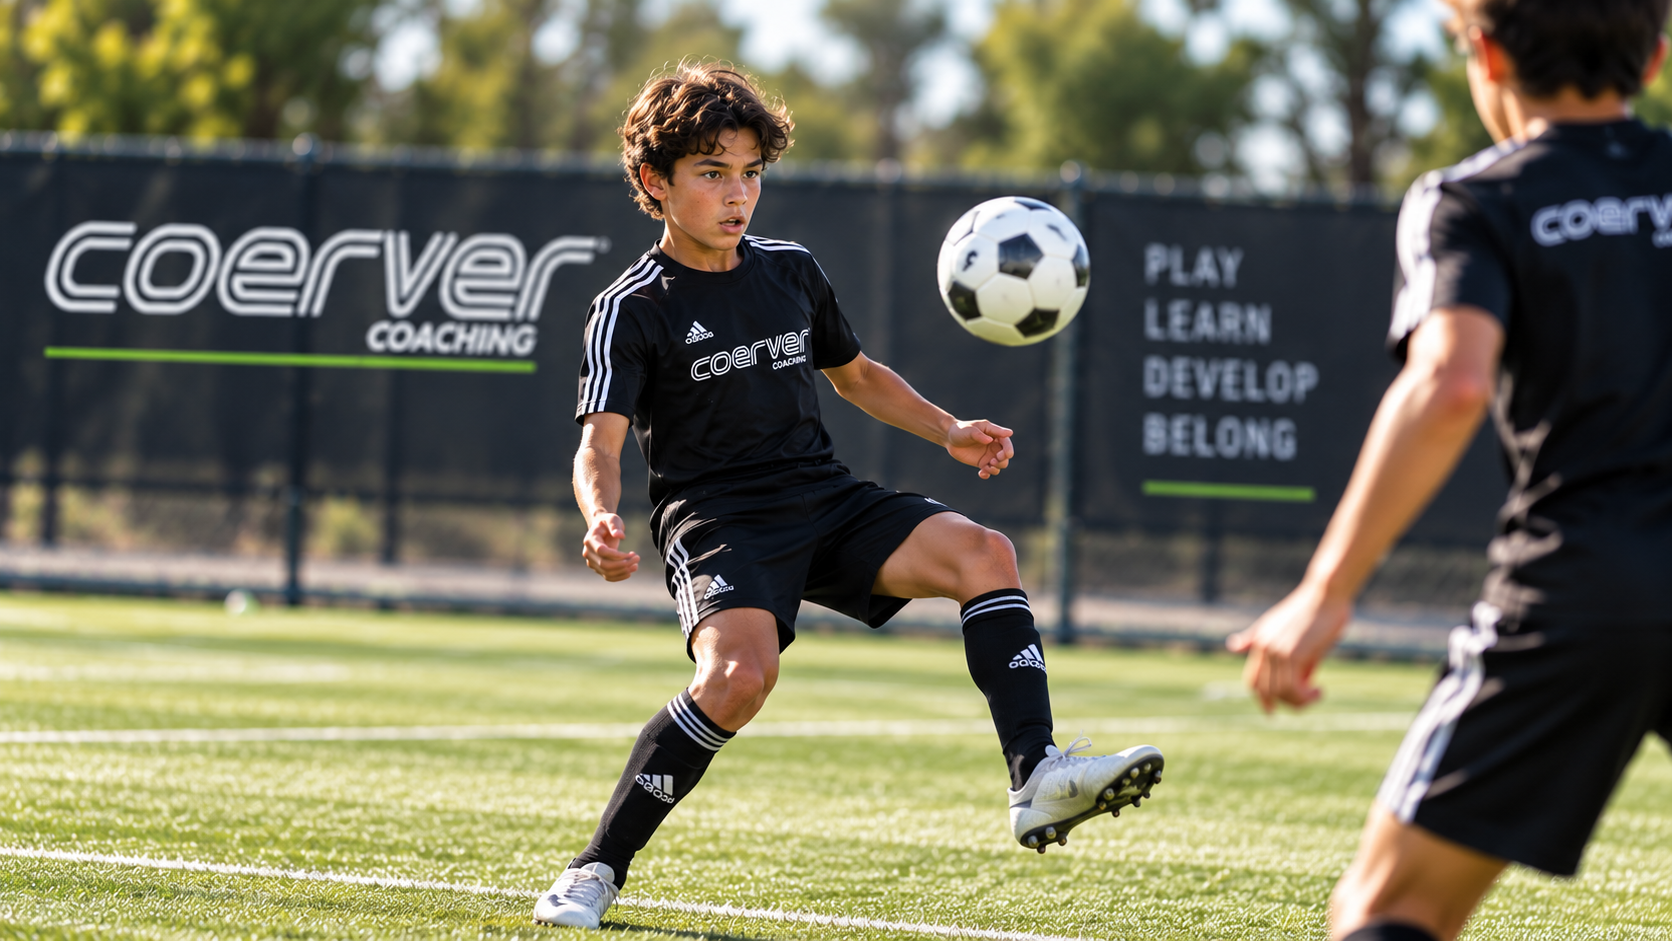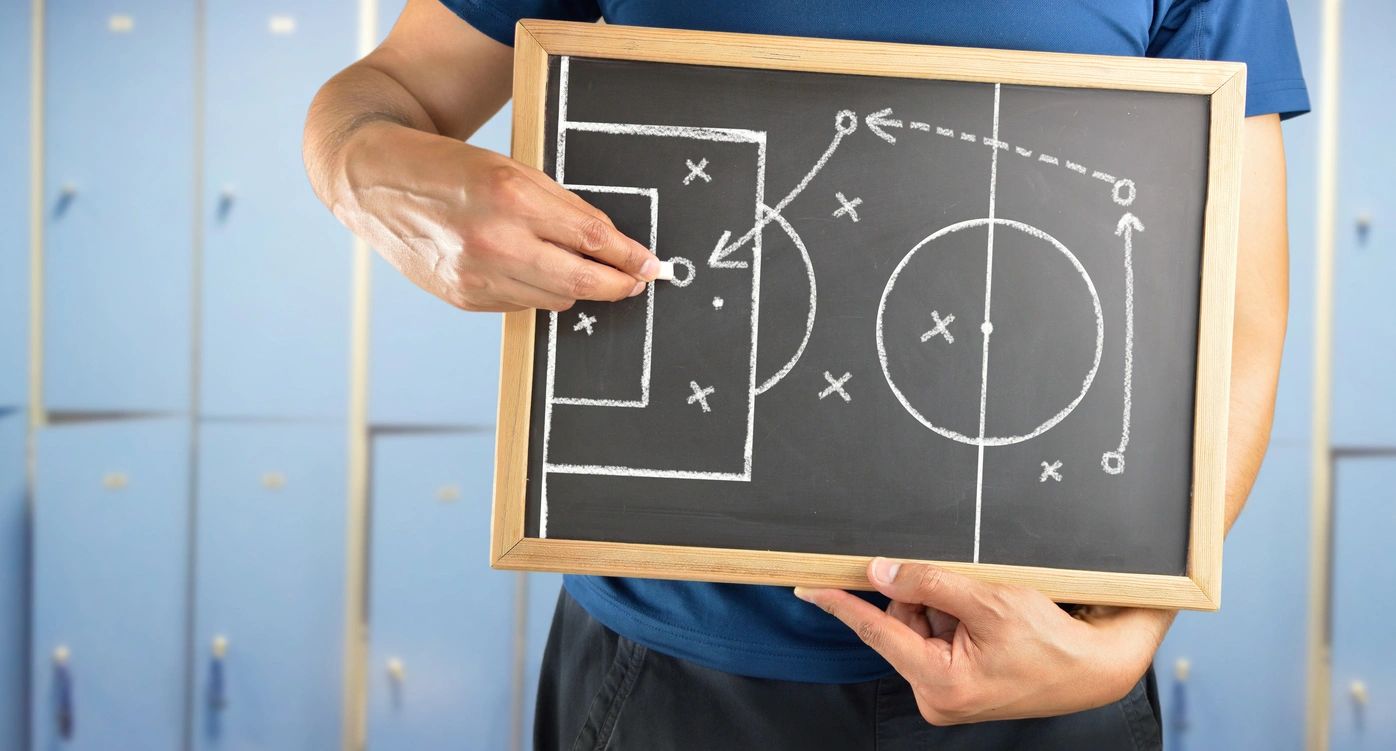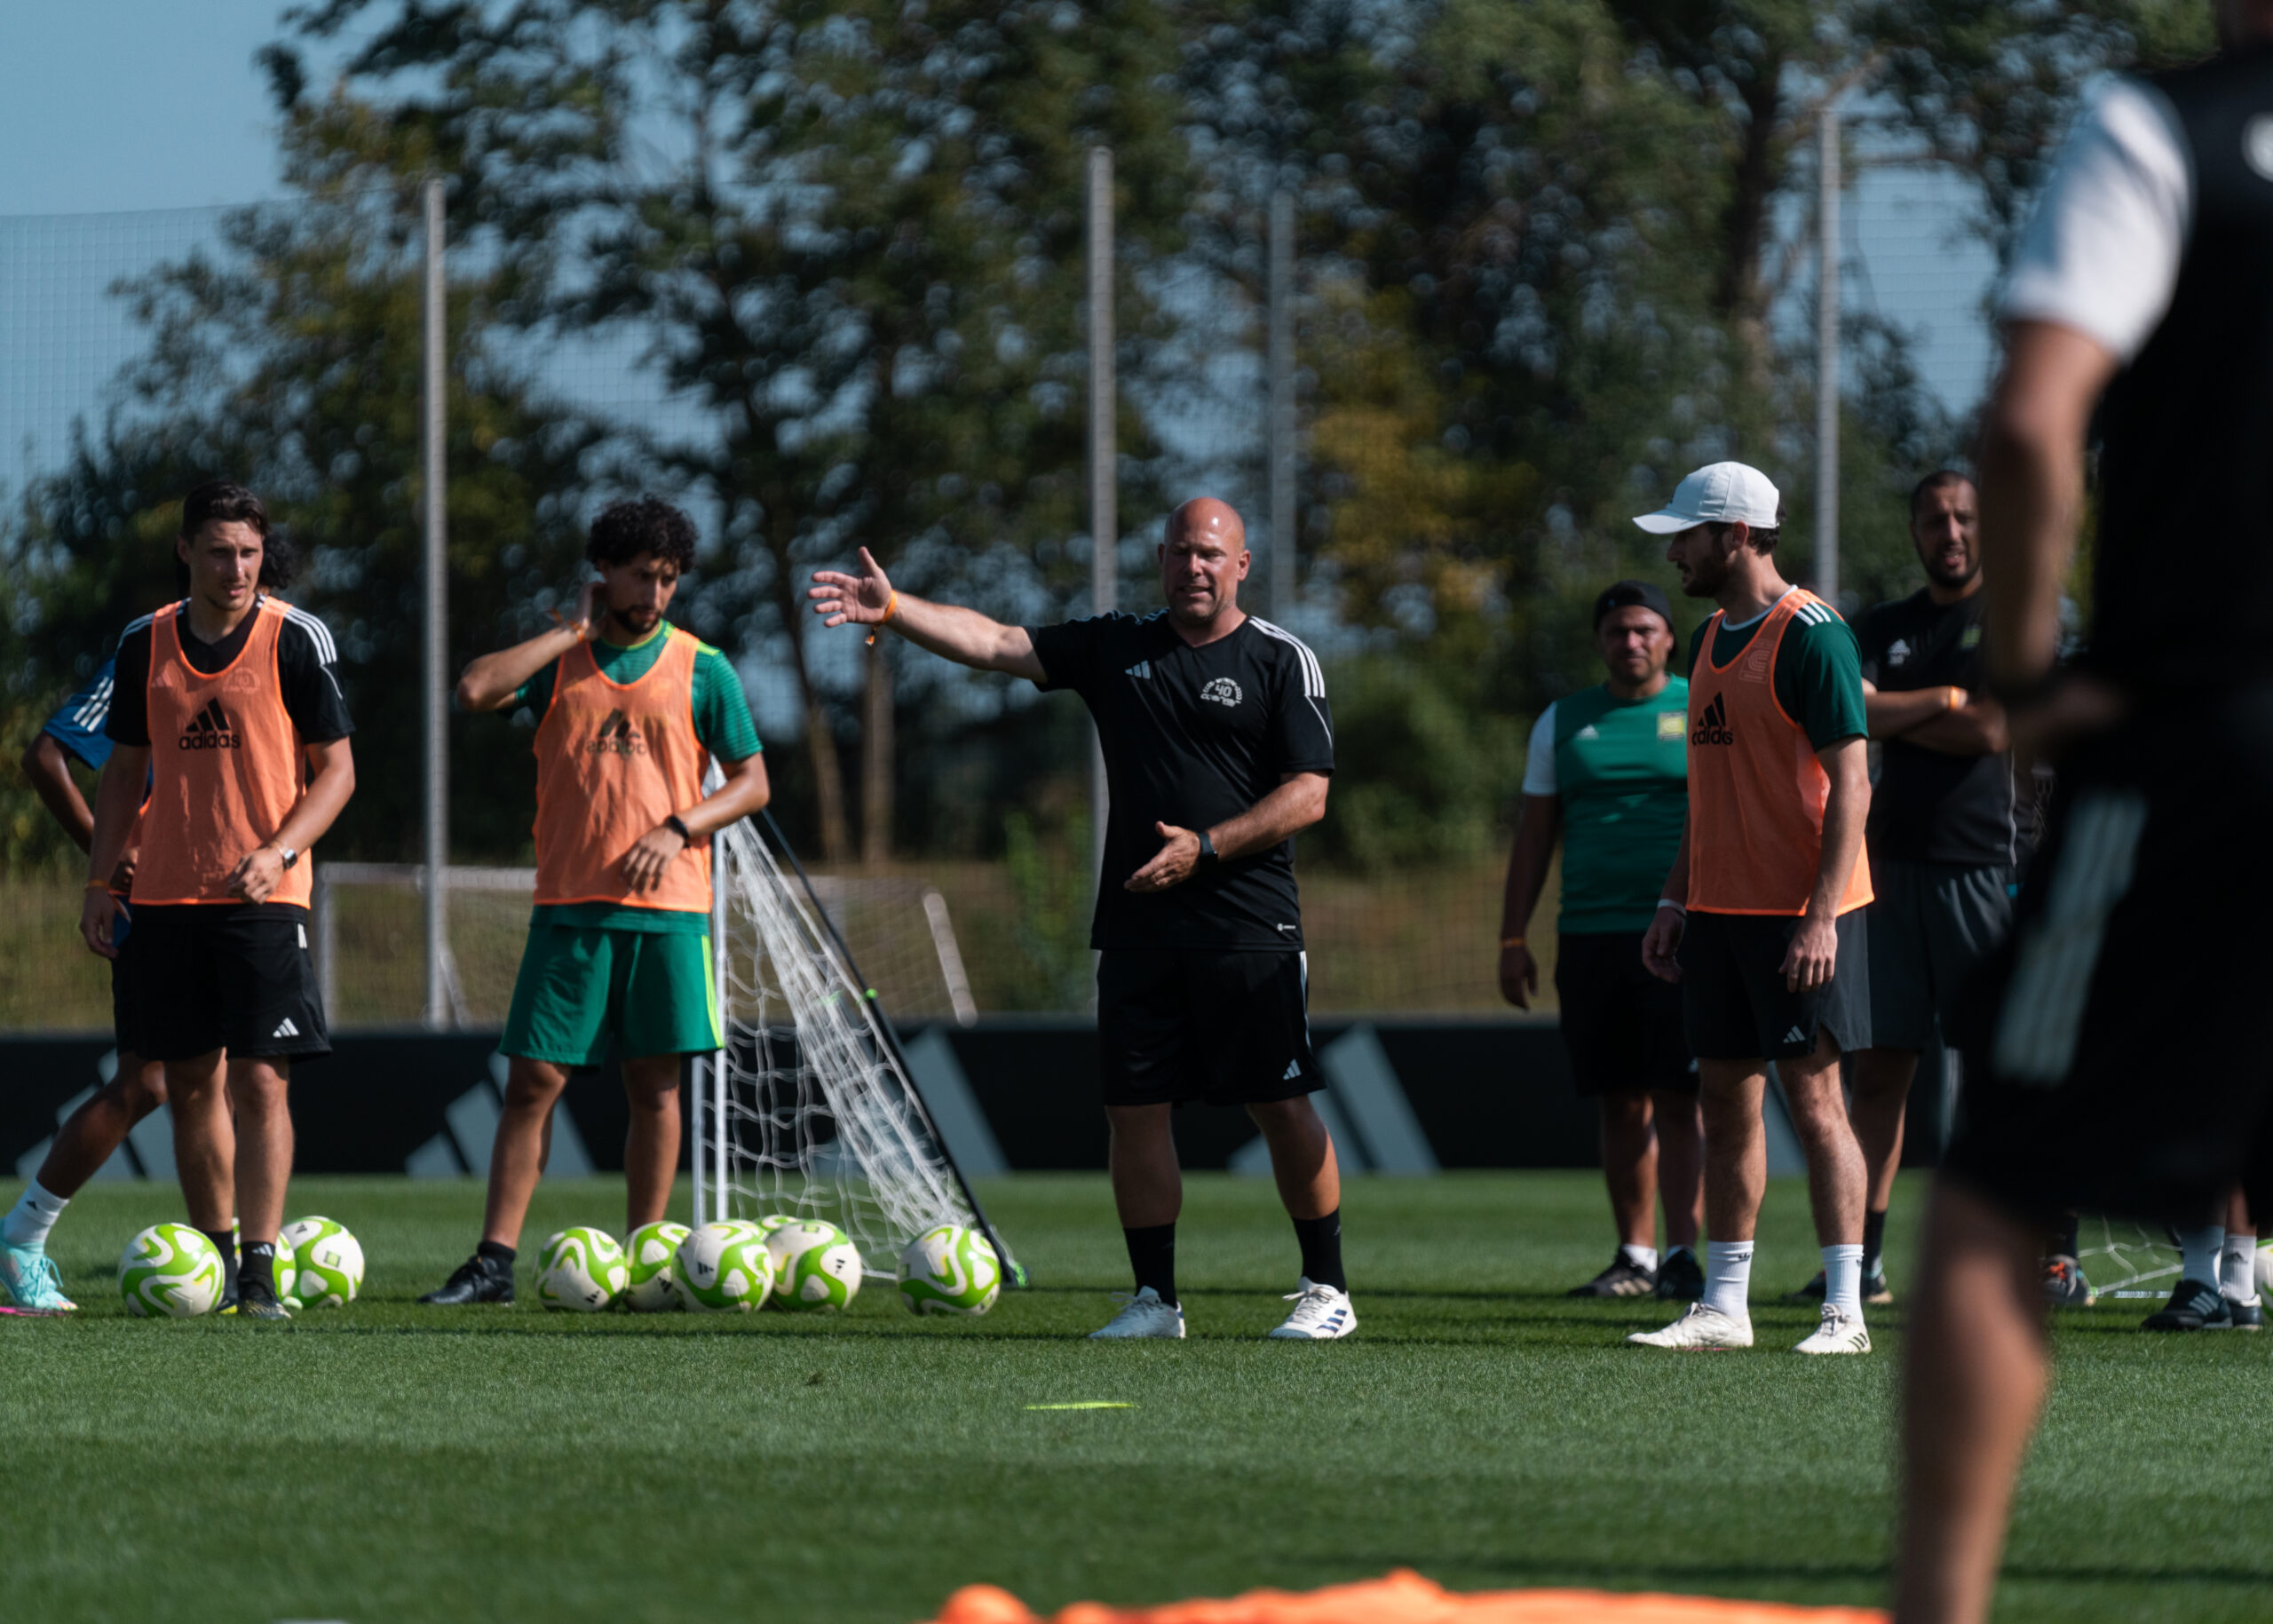







Most young players can control a ball when nobody is near them. Put a defender on their back and that same touch falls apart. The good news is that receiving under pressure can be coached, and you do not need a complicated session to do it. These three soccer receiving drills under pressure take players from a simple pattern to a real game, and each one fits into a normal 60 to 75 minute practice for U10 to U14 players.
At Coerver we have always believed that confidence on the ball comes first. A player who trusts their first touch can lift their head, see the field and make a better decision. A player who does not trust it will panic, rush and give the ball away. So everything below connects the touch to what the player sees.
As a coach I would always tell parents when they first joined one of our programs how important first touch was to their player. And more importantly, how the ball mastery skills we practice help develop that touch. I always told them to compare their players’ skill level and composure in a few weeks to what they see their player as on that first day. Every single time, they came back to me 3-4 weeks later and said, “My son or daughter looks comfortable now, he/she doesn’t look so rushed like they used to,” and this was a result of them improving their skills, which in turn improves control and leads to confidence. They could see the results after just a few weeks.
Why Players Lose the Ball When They Receive
When a youth player loses the ball on the first touch, the touch itself is usually only part of the problem. Most of the time the player did not know where the defender was before the ball arrived. They received facing the wrong way, took a heavy touch toward pressure, or froze because they had no plan.
Good receivers do three things before the ball gets to them:
- They look over a shoulder to find the nearest defender.
- They find a teammate who can help.
- They open their body so they can see more of the field.
FIFA’s October 2026 session on receiving under pressure focuses on the same ideas: early scanning, a protective body shape and movement to get free. That lines up with what we teach. The drills below are our own progression built around those themes.
Give Players a Reason to Look
Telling a 10 year old to “check your shoulder” does not do much on its own. They need to know what they are looking for. Before the first drill, ask players to find two things every time: where is the closest defender, and where is my help?
Once they can answer that, looking becomes useful. They can turn when there is space, protect the ball when the defender is tight, or play it back when that is the smart choice. We want to reward the right choice, and sometimes that is not the turn.
Start with a short warm up of inside and outside of the foot touches with both feet. Then add a moving pass so players have to control the ball while it is rolling, the way it will in a game. Five minutes is enough.
Drill 1: Receiver With a Following Defender
Setup: Groups of four in a 12 x 16 yard rectangle. One server at one end, one target player at the other. A receiver starts in the middle with a defender two yards behind.
How it works: The server passes into the receiver. The defender goes live as soon as the pass leaves the server’s foot. The receiver tries to turn and pass to the target. If they cannot turn, they can play back to the server, move to a new angle and try again. Each receiver gets two attempts, then everyone rotates one position. Play for about six minutes with quick feedback between rounds.
Coaching points:
- Check the shoulder before the pass is played.
- Open the body so you can see the defender and the target.
- First touch away from pressure.
- If the defender is tight, protect the ball and play back.
Make it easier or harder: If the receiver keeps losing the ball before they control it, start the defender farther away. If turning becomes too easy, move the defender closer. After each turn, ask the receiver which shoulder they checked and what they saw. That one question will tell you a lot about whether they are really looking.
Drill 2: 3v3 With Two End Targets
Setup: 3v3 in a 20 x 25 yard area with one target player behind each end line. Each team attacks one target.
How it works: A team scores by passing into its target and receiving a return pass. Targets stay behind their line and rotate into the game every two minutes.
This drill adds real choices. Players now have teammates moving around them, defenders who can press from different angles and a target who can help them out. Let the defenders compete hard. If they hold back, turning and protecting the ball stop being real decisions.
Coaching points:
- Get your body ready before the ball arrives.
- After you pass, move to help the next player.
- A teammate who is marked can still be an option if they can play it back quickly.
Drill 3: 4v4 to End Zones
Setup: 4v4 with an end zone at each end of the field. No targets this time.
How it works: Play for eight minutes. A team scores when a player receives a pass inside the end zone under control.
Now players have to solve the problem on their own. Step back and watch. Pick one player and follow their next 10 receiving moments. Did they keep the ball? Did the first touch set up their next action? Write it down. Next week, watch the same player again and compare.
One thing to keep in mind: a pass back is not a failure. A safe return pass often sets up the next forward chance. We want players who make smart decisions, and sometimes the smart decision is to keep it simple.
How These Drills Fit Into Your Week
Do not expect one session to fix receiving for good. Use these drills over two or three practices and keep the language the same each time. “Look, open, touch away” is easy for young players to remember. You will start to hear them say it to each other.
It also helps to keep ball mastery work in every practice. The more comfortable players are touching the ball with every surface of both feet, the more options they have when pressure arrives. If your players are ready to combine with teammates after receiving, our third player combination drills are a good next step.
Frequently Asked Questions
Should every player receive on the back foot?
Only when it helps. Receiving on the back foot lets a player open up and see more of the field, so it is a great habit when there is time and space to turn. But a front foot touch, a protective touch across the body or a one-touch pass back can be the better choice under tight pressure. Teach players to read the situation.
What age should players start scanning before they receive?
You can start introducing it around U9 or U10 with simple games where players call out what they see. By U12 most players can begin scanning regularly if it is coached in every practice.
How do I know if my players are improving?
Track a few receiving moments for the same player each week in a small-sided game. Note whether they kept the ball and whether the touch helped their next action. Small, consistent notes will show progress better than a single test.
Build Stronger Practices With Coerver
If you want more structure for your weekly sessions, Coerver Youth Diploma 1 shows you how to connect technical work like this with competitive games your players will enjoy.